
5. Connect O Watch
- Insert micro-USB cable to the O Watch micro-USB slot gently. Connect the other side of the cable to the USB port on your computer.
- Windows 7/8 users click here for device driver installation instructions before proceeding to next step. Mac and Win 10 users proceed to next steps below.
- In the Arduino IDE, go to Tools->Board and scroll down to select TinyScreen+.

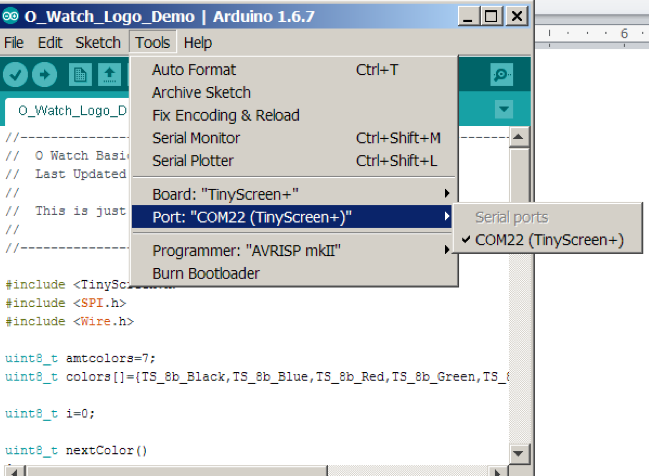
- In the IDE, go to Tools->Port and select the port showing TinyScreen+. e.g. on Mac it should show something similar to “/dev/cu.usbmodem1411 (TinyScreen+)” and on Windows similar to “COM3 (TinyScreen+)”. The port numbers maybe different on your computer.
- Now you are ready to upload your very first program to the O Watch!
<< Back: 4. Install the TinyScreen Library | 6. Next: Upload Your First Program >>